
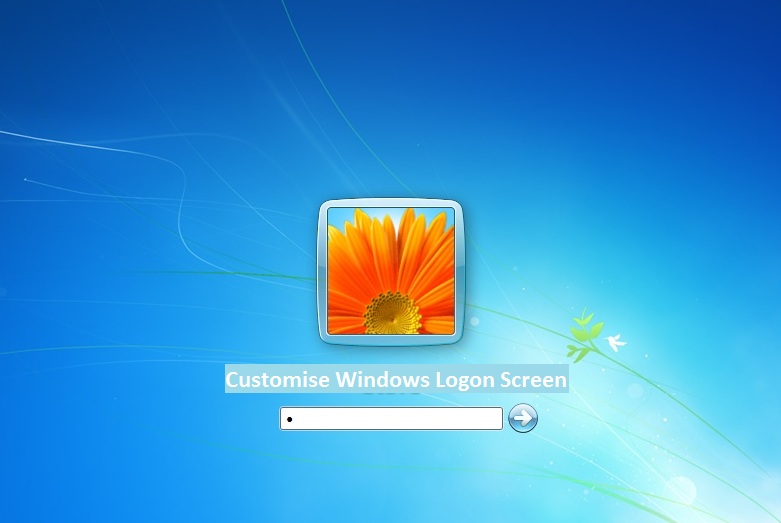
If you are trying to access your system, the first welcome screen is your Windows Logon screen. In case if you feel it repetitive, uninteresting, or boring then it is not required to utilize the same way. There are numerous options to personalize your Windows Logon screen using multiple features. Find below the list of different methods to customize your Windows Logon screen for your reference:
Customize Windows Logon Screen using the Registry Editor Tool
In case if you are using a Windows computer that doesn’t include the Local Group Policy editor tool then it is required to utilize the Registry Editor tool to customize the Windows Logon screen. This could be a complex method when compared with the other available methods. Follow the below-provided steps to work on the Registry Editor tool for changing the Windows Logon screen:
- Click on the Start menu or press the Windows Logo + R keys simultaneously to access the Run command window.
- Input the keyword “regedit” and press the enter key.
- Now, navigate to the below-mentioned directory or folder by accessing the left-hand sidebar (HKEY_LOCAL_MACHINE\SOFTWARE\Microsoft\Windows\CurrentVersion\Authentication\LogonUI\Background)
- Browse & locate the entry “OEMBackground” that is located within the right-hand sidebar.
- Within the blank area, right-click and select the “New” option.
- Select the value as DWORD (32-bit) for creating a new entry.
- Name the entry as “OEMBackground” and hit the enter key.
- Double-tap the OEMBackground entry for editing the key values.
- The existing value data can be changed from 0 to 1 and press the OK icon.
- Exit from the Registry Editor tool.
Now, it is much easier to customize your Windows Logon screen without any hassle.
Customize Windows Logon Screen using the Local Group Policy Editor
Most of the Windows operating systems will provide access to the in-built Local Group policy editor tool. This tool will assist the users to customize various values & settings on your computer much easier when compared to the Registry Editor tool. It is also possible to customize the Windows Logon screen using this editor tool. Follow the below-provided instructions to turn on the background image customization feature by using this tool:
- Click on the Start menu or press the Windows Logo + R keys simultaneously to access the Run command window.
- Input the keyword “gpedit.msc” and press the enter key.
- While launching the Local Group Policy Editor tool, you can expand the list of available directories on the left-hand side.
- Now, you should browse & locate the following directory path (Computer Configuration\Administrative Templates\System\Logon).
- Within the right-hand sidebar, you can view the option “Always utilize the custom Windows Logon background”.
- Double-tap this option to access.
- Within the existing windows, turn on the option “Enabled” and press the Apply icon.
- Again press the Ok icon to update or save the changes.
- Exit from the Local Group Policy Editor tool.
Now, it is much easier to customize your Windows Logon screen without any hassle.
Customize Windows Logon Screen using the Third-party Applications
If you have not utilized the Local Group Policy editor or the Registry editor tools then it could be a difficult task to customize your Windows Logon screen. It is understandable and there is a quick & easy method to customize the Windows Login screen without using any editor tools. You can find numerous third-party applications available across the online marketplace for customizing or personalizing your Windows Login screen or current background image. Just choose the preferred image and apply the same to your computer’s background.
Follow the below-provided instructions to customize your Windows Logon screen using the Third-party applications:
- Open up a web browser and download the Windows Logon Background Changer application from its official website to your computer.
- Now, access the downloaded executable file (.exe file extension) and install the same on your computer.
- After installation, launch the Windows Logon Background Changer application.
- On the home screen, you can view numerous images to set them as your Login screen background image.
- Choose your preferred image and press the Apply icon.
- In case if you would like to utilize a customized picture then press the option “Choose a Folder”.
- Now, navigate and choose your desired folder that includes the customized image.
- Select the picture and press the Apply icon.
You can follow a similar process to change your Windows Logon screen background image. This is the easiest method to update your background picture without accessing any editor tools. Windows Operating system will allow you to flexibly utilize any image or picture as your Windows Logon screen background.
It is possible for you to request your friend to share their favorite images, download your preferred images over the web, or choose the pre-loaded images from your system. However, ensure the image should be in JPEG file format, and also the file size is below 256KB to assign it as your Windows Logon screen background image.
You may also like: How to fix Discord Awaiting Endpoint Error Message


